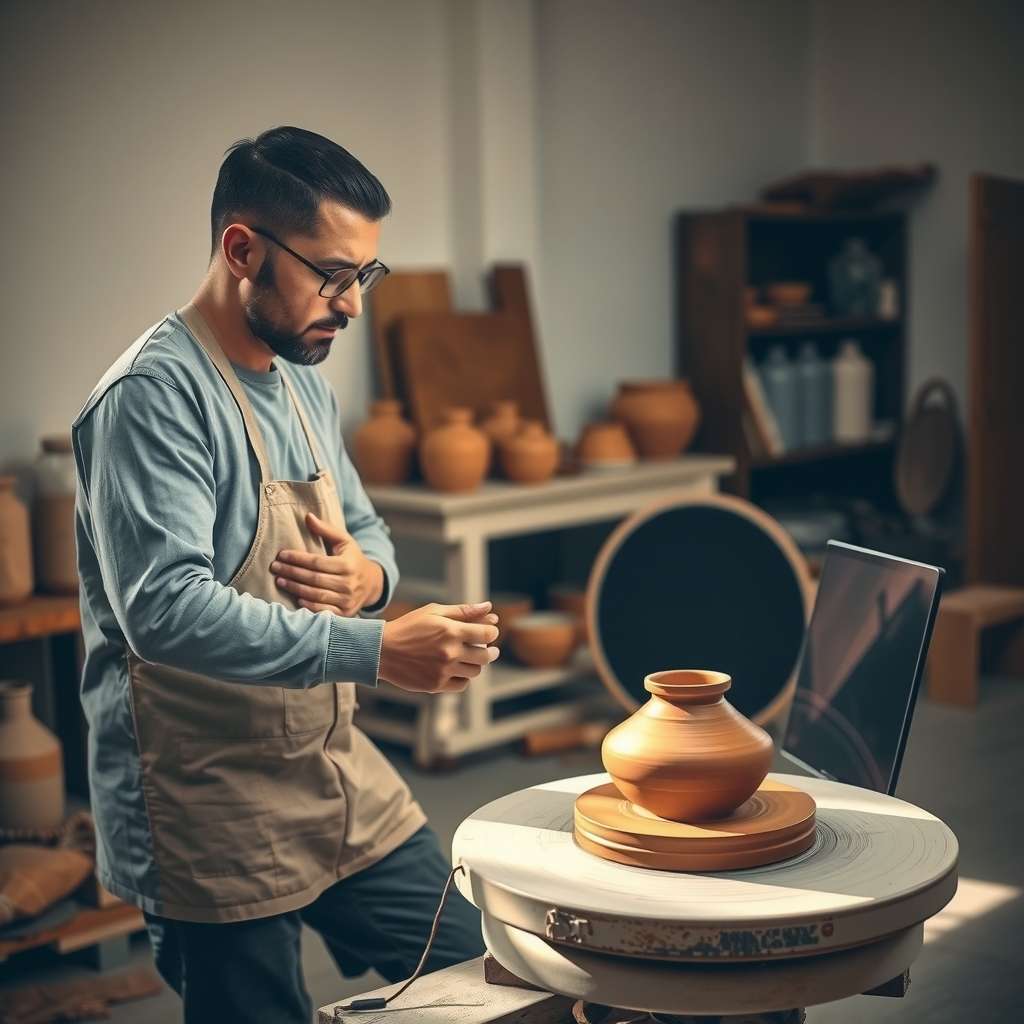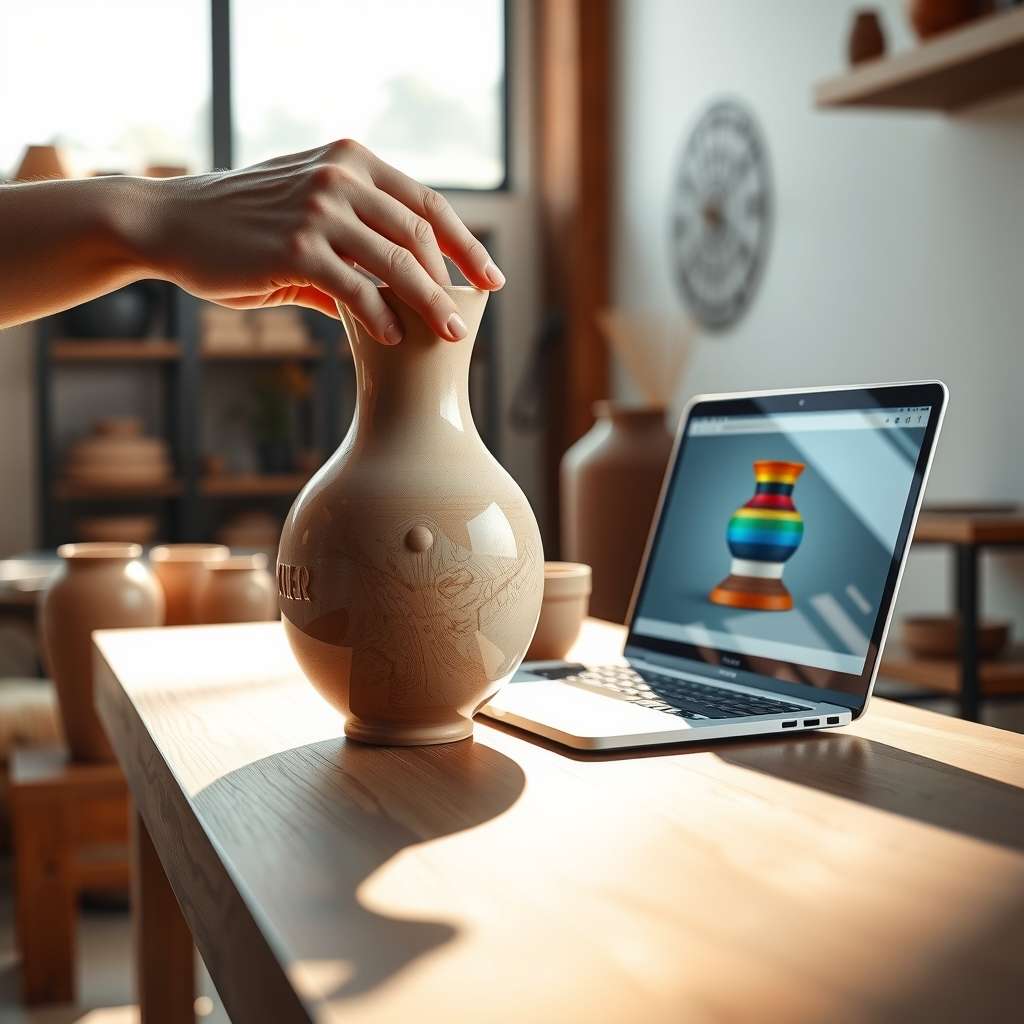
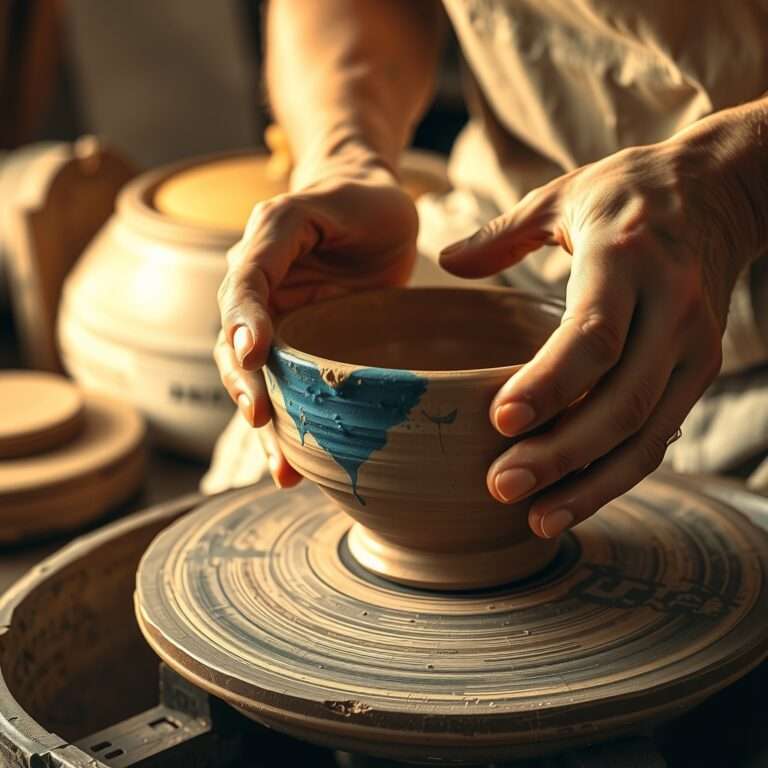
Imagine shaping a ceramic masterpiece in just a few hours, while each piece retains a distinct, hand‑crafted soul. The Java Sari clay process makes that dream a reality for both studio artists and hobbyists. This method blends traditional Indonesian techniques with modern workflow shortcuts, allowing you to produce truly unique ceramics without sacrificing quality. In this guide, we’ll explore why the process matters, break down every step, and reveal pro tips that keep your creations fast, fresh, and unforgettable.
Why the Java Sari Clay Process Matters in Modern Ceramics
In today’s competitive market, artists need a workflow that balances speed with originality. The Java Sari clay process offers exactly that—an efficient, repeatable system that still encourages creative experimentation. By mastering this technique, you can:
- Reduce drying time without compromising structural integrity.
- Introduce natural textures that set your work apart from mass‑produced items.
- Maintain consistency across batches while still allowing for one‑of‑a‑kind variations.
These benefits directly address the common pain points of ceramic makers: time constraints, material waste, and the struggle to stand out in a saturated market.
Core Principles Behind the Java Sari Clay Process
The process is built on three foundational principles: material preparation, controlled moisture management, and strategic hand‑building techniques. Understanding each principle helps you adapt the method to any studio environment.
1. Material Preparation
Choosing the right raw materials is the first step. The Java Sari method traditionally uses a blend of locally sourced kaolin, ball clay, and a small proportion of grog. This combination yields a plastic yet sturdy body that responds well to rapid drying.
2. Controlled Moisture Management
Moisture is the lifeblood of any clay work. The Java Sari clay process introduces a “double‑wet” stage where the clay is initially over‑hydrated, then partially dried to a leather‑hard state before final shaping. This creates a balance between workability and strength.
3. Strategic Hand‑Building Techniques
Unlike wheel‑throwing, the Java Sari approach emphasizes coil building, slab construction, and pinch methods. Each technique is paired with a specific drying schedule that speeds up production while preserving the piece’s integrity.
Essential Materials and Tools for the Java Sari Clay Process
Before you dive into the hands‑on portion, gather the following items. Having everything on hand minimizes interruptions and keeps your workflow smooth.
| Category | Item | Recommended Specs |
|---|---|---|
| Clay Body | Java Sari blend (kaolin + ball clay + grog) | 70% kaolin, 20% ball clay, 10% grog (by weight) |
| Water Source | Filtered water | pH 7.0, low mineral content |
| Mixing Equipment | Electric potter’s wheel or high‑speed mixer | Minimum 2 hp motor |
| Drying Aids | Plastic sheeting, breathable fabric, silica gel packs | Reusable, non‑sticky |
| Hand‑Building Tools | Coil cutter, rib, wooden modeling tools, sponge | Stainless steel or hardwood handles |
| Finishing Supplies | Underglaze, glaze, kiln | Electric or gas kiln, up to 1300 °C |
Step‑By‑Step Guide to the Java Sari Clay Process
Follow this detailed roadmap to create a ceramic bowl using the Java Sari clay process. The steps are adaptable to any shape—vases, plates, or sculptural forms.
Step 1: Preparing the Clay Body
Measure your raw materials using a digital scale. For a 10 kg batch, combine 7 kg kaolin, 2 kg ball clay, and 1 kg grog. Sift the dry ingredients through a fine mesh to remove lumps. Transfer the mixture into the mixer, add filtered water slowly while the mixer runs on low speed. Aim for a water‑to‑clay ratio of roughly 35%—the clay should feel slightly soupy.
Step 2: The Double‑Wet Stage
After the initial mix, let the slurry rest for 10 minutes. Then, increase the mixer speed to medium and continue blending for another 5 minutes. This “double‑wet” stage aligns the particles, improving plasticity and reducing air pockets. The resulting clay will be soft enough to press through a 3 mm screen without tearing.
Step 3: Partial Drying to Leather‑Hard
Spread the wet clay onto a clean, flat surface covered with a breathable fabric. Allow it to dry for 30–45 minutes, checking every 10 minutes. The goal is a leather‑hard state—firm enough to hold its shape but still pliable for carving. A simple test: press a fingertip into the surface; it should leave a shallow impression that springs back.
Step 4: Shaping the Form
Using coil building, roll uniform coils 1 cm in diameter. Lay the coils side by side, gently scoring and slipping each joint. For a bowl, start with a base coil, then build upward in concentric circles, tapering the walls as you go. The Java Sari technique encourages slight irregularities—these become the signature texture of your piece.
Step 5: Smoothing and Texturing
Once the basic shape is complete, use a wooden rib to smooth the interior and exterior. To add unique texture, press natural materials (e.g., leaves, bamboo fibers) into the surface while the clay is still leather‑hard. This step is where the “one‑of‑a‑kind” quality truly emerges.
Step 6: Final Drying
Cover the piece with plastic sheeting for the first 2 hours to slow evaporation. Then, uncover and let it dry in a well‑ventilated area for 24–48 hours, depending on thickness. Rotate the piece halfway through to ensure even drying and prevent warping.
Step 7: Bisque Firing
Load the dried piece into a kiln and fire to 950 °C (bisque). This stage removes remaining moisture and strengthens the ceramic body, preparing it for glaze.
Step 8: Glazing and Final Firing
Apply underglaze or glaze using a brush, dip, or spray technique. The Java Sari process works well with matte and crackle glazes that highlight the natural texture. Fire the glazed piece to 1250 °C for a glossy finish or 1300 °C for a stoneware finish, depending on your glaze specifications.
Speed‑Boosting Tips for the Java Sari Clay Process
Even though the method already emphasizes efficiency, these additional strategies can shave minutes—or even hours—from each production cycle.
- Pre‑measure dry ingredients: Keep a labeled container for each component to eliminate weighing time.
- Use a vacuum mixer: Removes air bubbles faster than a standard mixer.
- Employ a humidity‑controlled drying cabinet: Guarantees consistent leather‑hard timing regardless of ambient conditions.
- Batch glaze application: Set up a spray booth for multiple pieces at once.
- Utilize kiln‑loading software: Optimizes firing schedules and reduces cooldown time.
Common Mistakes and How to Avoid Them
Even seasoned potters can stumble when first adopting the Java Sari clay process. Below are the most frequent errors and practical fixes.
- Over‑hydrating the clay: Leads to sagging during shaping. Stick to the recommended water ratio and perform the “double‑wet” test—if the clay spreads too easily, add a small amount of dry powder.
- Insufficient leather‑hard drying: Causes cracks during bisque firing. Use a moisture meter to verify that the clay’s water content has dropped to 8–10% before handling.
- Uneven drying: Results in warping. Rotate pieces regularly and avoid stacking wet pieces directly on top of each other.
- Skipping the slip joint: Weakens coil connections. Always score and apply slip liberally where coils meet.
- Rushing glaze application: Leads to drips and uneven coverage. Apply thin, even coats and allow each layer to dry fully.
Advanced Techniques to Elevate Your Java Sari Creations
Once you’re comfortable with the basics, experiment with these advanced methods to push the boundaries of the Java Sari clay process.
Incorporating Natural Pigments
Mix iron oxide, copper carbonate, or charcoal into the clay body before the double‑wet stage. These pigments become integral to the piece, creating subtle color gradients that survive firing.
Hybrid Hand‑Building + Wheel‑Throwing
Start with a coil‑built base, then finish the walls on a wheel for a smoother silhouette. The combination retains the texture of the base while adding refined elegance to the upper portion.
Layered Grog Structures
Alternate layers of fine and coarse grog within the coil walls. This technique adds visual depth and improves thermal shock resistance during rapid temperature changes.
Controlled Crackle Glazes
Apply a thin glaze layer, then a second “crackle” glaze that expands at a different rate. The resulting network of fine cracks highlights the underlying texture—a perfect match for the Java Sari aesthetic.
Comparing the Java Sari Clay Process with Other Popular Methods
Understanding how the Java Sari technique stacks up against other common ceramic workflows helps you decide when to use it.
| Method | Speed | Texture Potential | Learning Curve | Typical Use Cases |
|---|---|---|---|---|
| Java Sari Clay Process | Fast (2‑3 days from raw to glaze) | High (natural textures, embedded pigments) | Medium | Artistic studio pieces, limited editions |
| Traditional Wheel‑Throwing | Moderate (4‑5 days) | Medium (smooth surfaces) | High | Functional ware, uniform sets |
| Slip‑Casting | Very fast (1‑2 days) | Low (smooth, repeatable) | Low | Mass production, commercial lines |
| Press‑Molding | Fast (2‑3 days) | Medium (textured molds) | Low | Architectural tiles, decorative panels |
Frequently Asked Questions (FAQ)
Is the Java Sari clay process suitable for beginners?
Yes. While it introduces a few new concepts—like the double‑wet stage and leather‑hard timing—each step is straightforward and can be mastered with a single weekend of practice.
Can I use commercial stoneware instead of the Java Sari blend?
You can, but the unique texture and rapid drying benefits stem from the specific kaolin‑ball clay‑grog ratio. Substituting a standard stoneware may reduce the process’s speed advantage.
How do I store excess Java Sari clay?
Wrap the remaining clay tightly in plastic, place it in an airtight container, and store it in a cool, dry place. Re‑hydrate with a small amount of water before the next session.
What kiln temperature is optimal for the final glaze?
Most glazes fire well at 1250 °C for a glossy finish. For matte or crackle glazes, 1300 °C often yields the best results. Always follow the glaze manufacturer’s specifications.
Can I incorporate metal or glass elements?
Yes, but they should be added after the bisque firing to avoid thermal shock. Secure them with high‑temperature epoxy or embed them in a second glaze layer.
Conclusion: Unlock Your Creative Potential with the Java Sari Clay Process
The Java Sari clay process empowers you to produce distinctive ceramic pieces quickly, without sacrificing the handcrafted feel that collectors crave. By mastering material preparation, moisture control, and strategic hand‑building, you’ll not only streamline production but also open a new realm of artistic expression. Whether you’re a seasoned studio potter or an enthusiastic beginner, integrating this method into your workflow will set your work apart and keep your creative momentum high.
Ready to transform your studio practice? Start experimenting with the Java Sari clay process today—download our free checklist, join our online community, and share your first creation with us. Your next one‑of‑a‑kind masterpiece is just a few steps away.