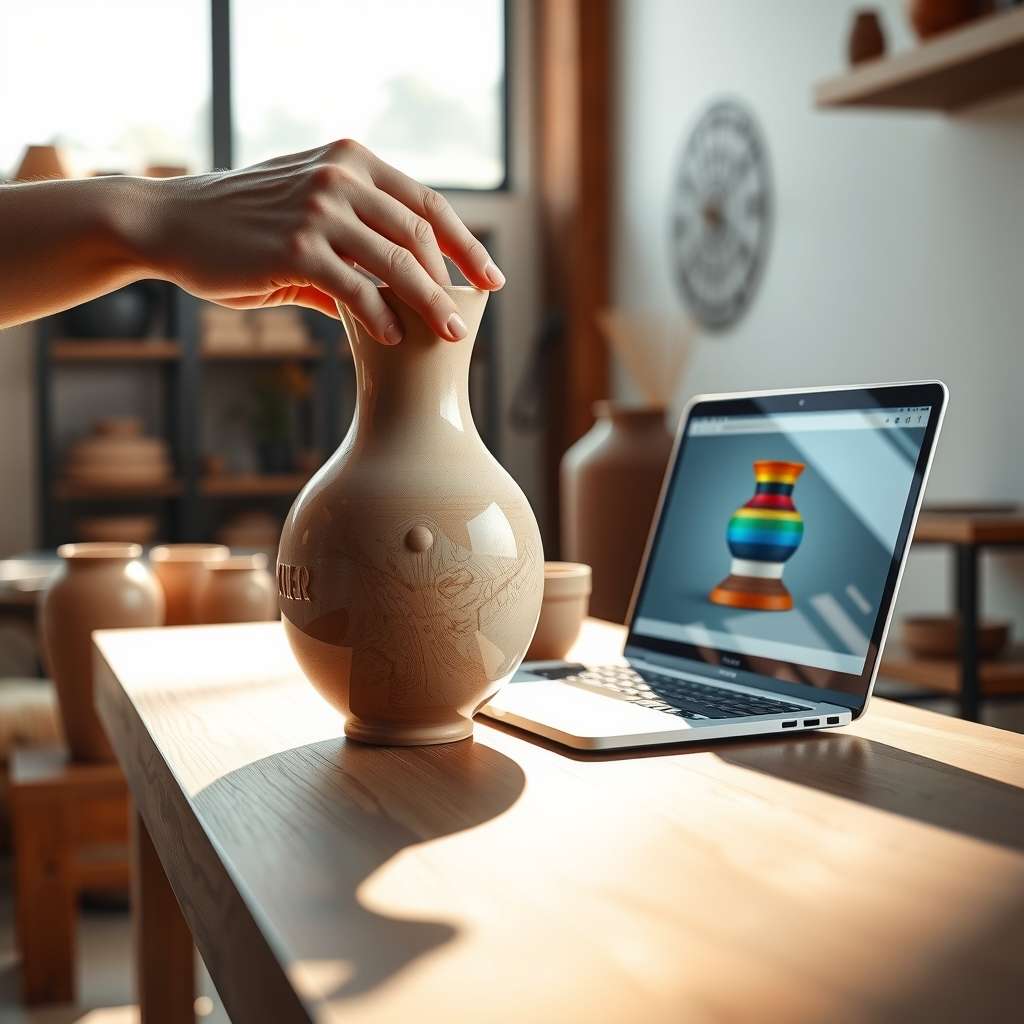
Custom shapes can transform a product from ordinary to extraordinary, but selecting the right one is a nuanced art. Whether you’re designing a new kitchen gadget, a piece of furniture, or a branding element, the right shape can enhance usability, aesthetics, and market appeal. This custom shape guide walks you through seven essential steps—from defining goals to final production—to ensure your custom shape not only looks great but also performs flawlessly. Ready to shape your vision into reality? Let’s dive in.
When you think about custom shapes, you often picture sleek, modern lines or bold, geometric forms. Yet the true power lies in how the shape serves its purpose. A well‑chosen shape can improve ergonomics, streamline manufacturing, and even reduce costs. Conversely, a misaligned shape can lead to user frustration, higher production fees, or a product that fails to stand out. Understanding the intersection of design intent, material behavior, and user experience is essential for any successful custom shape project.
Many designers jump straight into sketching without a clear plan, which leads to wasted time and resources. Common pitfalls include ignoring material limitations, overlooking user needs, or underestimating manufacturing complexities. These mistakes often cost time, money, and credibility. By following a structured approach, you can avoid these traps and create a custom shape that delivers on all fronts.
In this guide, we’ll break down the shape‑design process into seven actionable steps. Each step builds on the previous one, ensuring you consider every critical factor—from concept to final production. Along the way, we’ll share practical tips, industry insights, and real‑world examples to help you master the art of custom shape selection.
Step 1: Define Your Project Goals
Before you even pick up a pencil, clarify what you want to achieve. Are you prioritizing functionality, brand identity, cost efficiency, or a combination? Setting clear objectives gives you a reference point for every design decision. In this phase, ask yourself: What problem does the product solve? Who is the end user? How will the shape influence the user’s interaction with the item? Documenting these answers creates a roadmap that keeps the design focused.
Clarify Functionality
Functionality is the backbone of any custom shape. Determine the key actions the shape must support—grip, flow, containment, or visibility. For example, a kitchen utensil’s handle shape should facilitate a comfortable grip, while a container’s lip must allow easy pouring. By mapping out these functional requirements, you prevent later surprises that could derail the project.
Identify Target Audience
Understanding who will use the product informs many design choices. Consider demographics such as age, physical ability, cultural preferences, and lifestyle habits. A shape that feels natural to a child’s hand may not suit an adult’s ergonomics. By incorporating user personas early, you align the shape with real-world needs, boosting satisfaction and adoption.
Step 2: Gather Inspiration and Reference Material
Inspiration fuels creativity, but it must be purposeful. Collect images, patents, competitor products, and even unrelated art pieces that resonate with your vision. An organized reference library helps you spot trends, identify gaps, and generate fresh ideas. Use digital tools like Pinterest or Milanote to curate mood boards that capture color palettes, textures, and form lines.