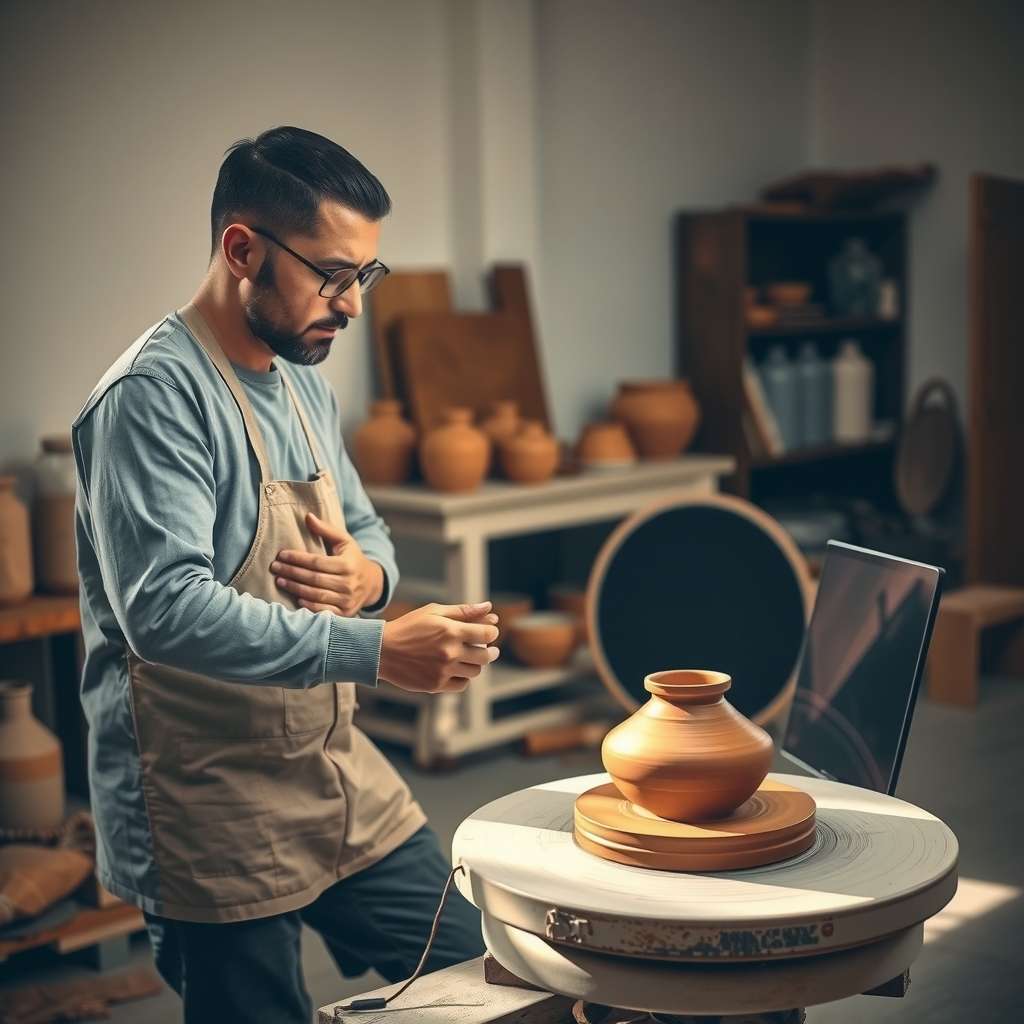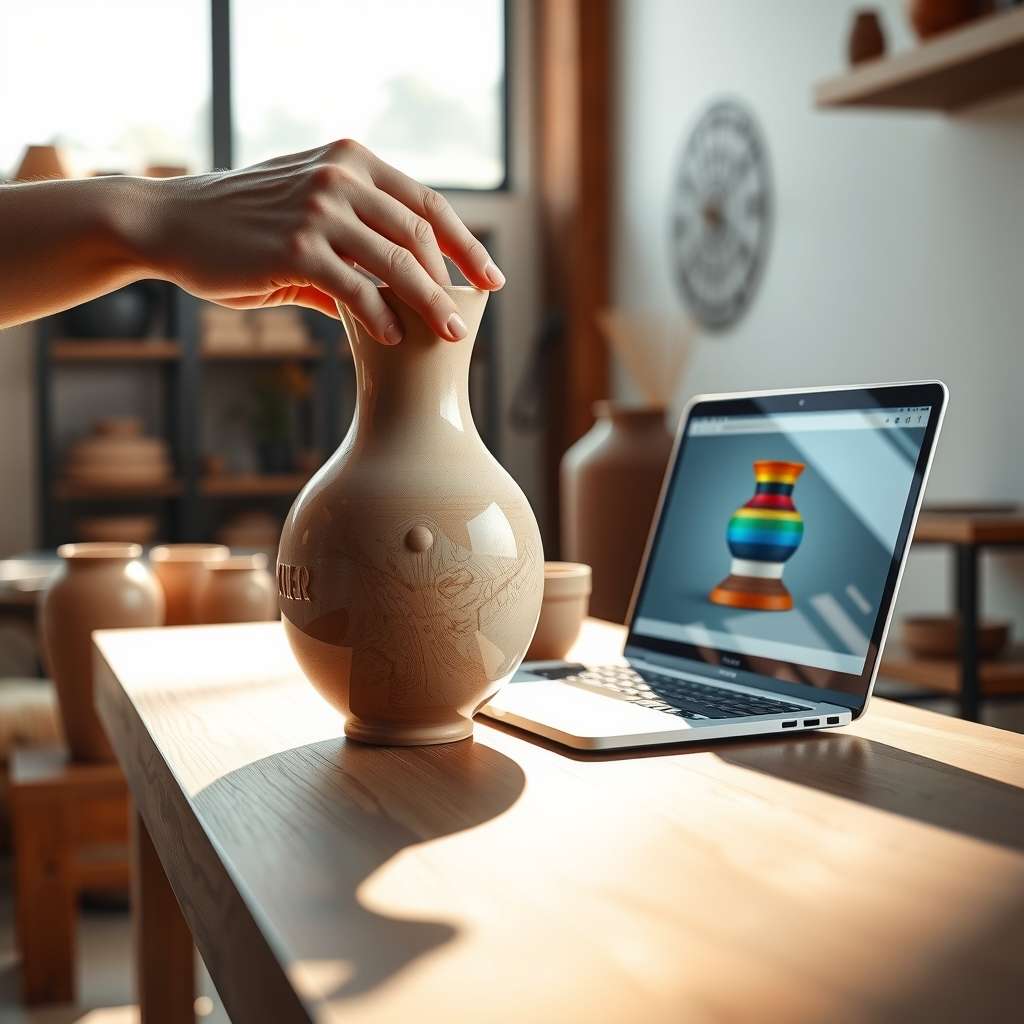
Have you ever stared at a blank slab of clay and felt the urge to shape it into something uniquely yours? Whether you’re a seasoned ceramist or a hobbyist taking your first spin on the wheel, a clear, step‑by‑step custom pottery guide can turn that spark into a tangible masterpiece. In this 2026 edition, we’ll walk you through every phase—from selecting the right clay to glazing and firing—while sharing insider tips that elevate your craft to a professional level. Let’s dive in and make your vision a reality.
Why a Custom Pottery Guide Matters
Pottery is as much science as it is art. A custom pottery guide provides the framework that balances creativity with technical precision. Without a structured approach, even the most inspired ideas can falter during drying, firing, or glazing. This guide equips you with:
- Understanding of clay behavior and moisture control.
- Step‑by‑step instructions that prevent common pitfalls.
- Tools and techniques that unlock new design possibilities.
- Safety protocols that protect you and your workspace.
By following a dedicated custom pottery guide, you’ll reduce waste, save time, and produce pieces that reflect your artistic intent.
Understanding the Basics of Clay
Types of Clay
Clays differ in composition, plasticity, and firing temperature. The three primary categories are:
| Clay Type | Plasticity | Firing Temperature |
|---|---|---|
| Stoneware | High | 1200–1300 °C |
| Earthenware | Medium | 1000–1100 °C |
| Porcelain | Low | 1200–1400 °C |
Choosing the right clay is the first step in your custom pottery guide. Stoneware offers durability for functional wares, while porcelain is ideal for delicate, translucent pieces.
Preparing Clay
Proper preparation ensures even moisture distribution and eliminates air pockets:
- Wedge the clay until it’s uniform and pliable.
- Add water gradually—too much water makes it sticky.
- Let the wedged clay rest for 15–20 minutes before shaping.
These simple steps are foundational in any custom pottery guide, preventing cracks and warping later on.
The Art of Shaping: Handbuilding vs Wheel Throwing
Handbuilding Techniques
Handbuilding offers flexibility for complex shapes:
- Coiling: Building up layers of coils, ideal for vases or bowls.
- Slab Construction: Cutting and joining flat pieces for geometric forms.
- Pinching: Creating simple pots directly from a lump of clay.
Each method requires practice, but the results are uniquely expressive.
Wheel Throwing
Wheel throwing brings precision and speed to the process:
- Center the clay on the wheel and shape the bowl or cup.
- Use a steady hand to maintain symmetry.
- Trim and refine with tools like the rib and sponge.
Wheel-throwing pieces often exhibit smoother surfaces, making them popular for functional pottery.
Comparing Techniques
Technique

|
|---|