Ever wondered how a simple lump of earth transforms into a beautiful, functional piece of art that graces your dining table? The answer lies in a meticulous and creative journey known as the clay pottery process. From the moment you sift through raw clay to the final kiln firing, each step requires patience, skill, and a deep respect for the material. In this guide, we’ll walk you through the seven essential stages that turn raw earth into exquisite ceramic tableware, ensuring you understand every nuance of this ancient craft.
Understanding the clay pottery process is not only fascinating for hobbyists and artisans but also vital for anyone interested in sustainable living. Clay is one of the oldest materials humans have worked with, and mastering its transformation empowers you to create eco-friendly dishes, bowls, and mugs that reduce reliance on disposable alternatives. By mastering the clay pottery process, you can tap into a tradition that blends art, utility, and environmental stewardship.
Below, we break down the clay pottery process into seven clear, actionable steps. Each section provides practical insights, common pitfalls to avoid, and professional tips to elevate your creations. Whether you’re a beginner or an experienced potter, this comprehensive overview will enrich your craft and deepen your appreciation for the artistry behind every piece.
Step 1: Selecting the Right Clay
Choosing the appropriate clay body is the foundation of a successful clay pottery process. Different clays—such as earthenware, stoneware, and porcelain—offer varied textures, firing temperatures, and strengths. Start by sourcing high-quality, local clays whenever possible, as they contain fewer impurities and are more environmentally friendly. A seasoned potter often tests a small batch for plasticity, shrinkage, and color after firing. Remember, the clay you select determines the final look and durability of your tableware.
- Earthenware: Ideal for low-fire projects; offers vibrant colors but is more porous.
- Stoneware: Fired at higher temperatures; durable and less porous.
- Porcelain: Requires expert handling; yields a smooth, translucent finish.
When evaluating clay, consider its mineral composition and how it reacts to heat. A well‑chosen clay will enhance the overall clay pottery process, ensuring each piece withstands daily use while maintaining its aesthetic appeal.
Step 2: Preparing the Clay Body
Before shaping, the clay must be conditioned to remove air pockets and achieve uniform consistency. This stage, known as wedging, is crucial for a smooth clay pottery process. Begin by placing the clay on a clean, flat surface and knead it in a circular motion, gradually compressing and elongating until it feels pliable and free of bubbles. Some potters use a mixing board or a specialized wedging machine to streamline the process.
During conditioning, you’ll notice the clay’s color deepen slightly due to the exposure of iron oxides. This subtle shift is a sign that the clay is ready for shaping. Properly prepared clay reduces the risk of cracks during drying and firing, making the overall clay pottery process more reliable and efficient.
Step 3: Shaping the Vessel
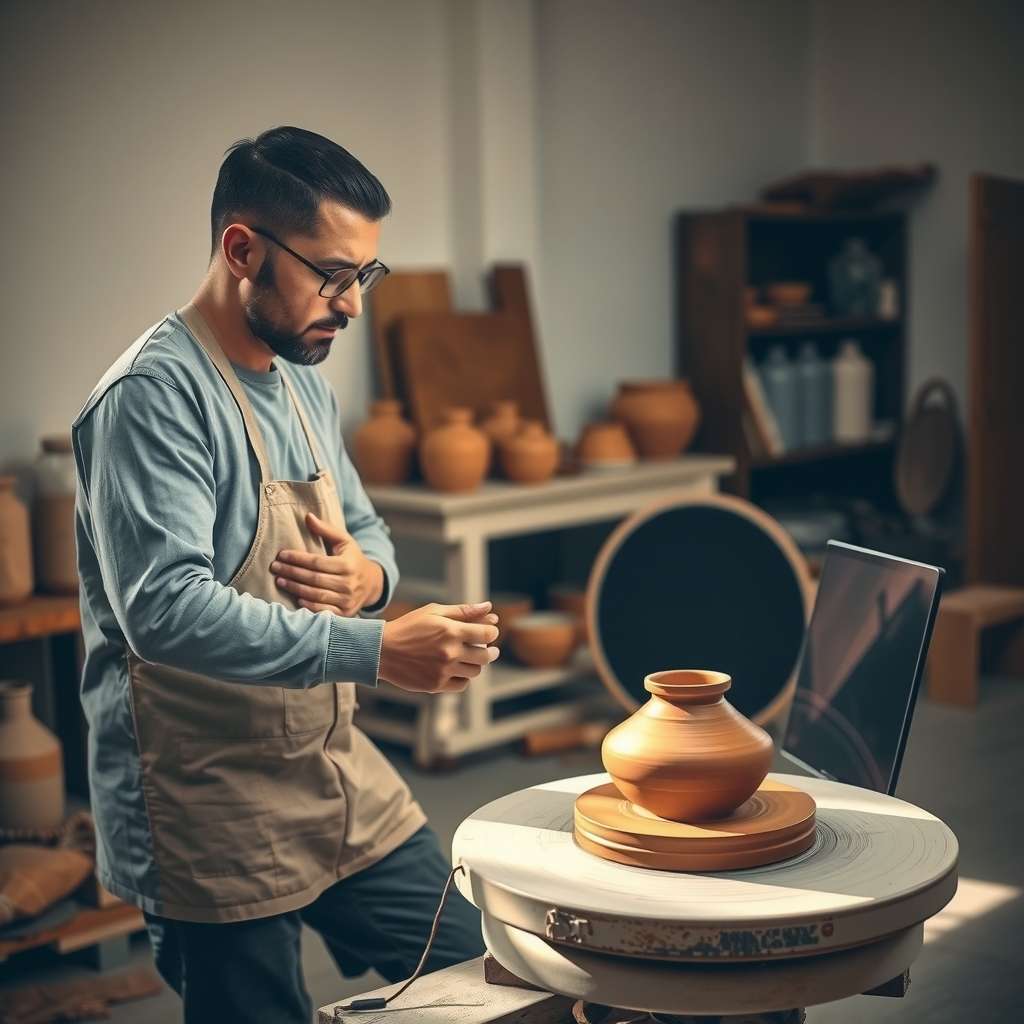
Shaping is where creativity meets technique. The clay pottery process offers two primary methods: handbuilding and wheel throwing. Handbuilding involves sculpting the clay with fingers, rods, and tools to create pots, bowls, or cups. Wheel throwing, on the other hand, requires a potter’s wheel to form symmetrical shapes quickly.
When handbuilding, start with