When the sun rises over the misty volcanoes of Java, a quiet rhythm begins in the heart of its villages. Potters gather the earth’s most precious gift—clay—and, with hands seasoned by generations, transform it into everyday art. The process of creating handmade ceramics Java Indonesia is not merely a craft; it is a living narrative of culture, resilience, and creativity. In this guide, we’ll walk through the seven essential steps that bring these pieces to life, offering insight into techniques, tools, and traditions that keep this ancient art thriving.
1. The Rich Clay of Java: A Natural Canvas
Java’s volcanic soil is a treasure trove of fine, plastic clay. This naturally occurring material is the foundation of every piece of handmade ceramics Java Indonesia. The island’s unique geology provides a mix of kaolinite, illite, and quartz, resulting in a clay that is both pliable and durable. Potters begin by scouting local sources—often the riverbanks of the Brantas or the slopes of Mount Merapi—where the clay deposits are abundant yet still untouched by industrial processes.
- Why volcanic clay is preferred: high plasticity and low shrinkage.
- Environmental benefits of using locally sourced clay.
- How the mineral composition influences firing temperatures.
Understanding the characteristics of Java’s clay is crucial. A potter who knows the subtle differences between the light, airy clays of the southern coast and the denser, more fibrous clays of the central highlands can tailor their techniques to achieve the desired strength and finish. This knowledge is passed down orally, ensuring that each generation of potters retains a deep respect for the earth’s gifts.
2. Gathering and Preparing the Clay
Once the clay is selected, the next phase involves meticulous preparation. The raw material is first cleaned of impurities—rocks, roots, and organic matter—using a combination of sieving and hand sorting. The goal is to achieve a uniform particle size that promotes even drying and firing.
- Sieving: Removes debris larger than 0.5 mm.
- Wetting: Adds moisture to reduce plasticity for easier handling.
- Wedging: Eliminates air pockets and aligns clay fibers.
In traditional workshops, potters often incorporate natural additives, such as crushed bamboo or rice husk ash, to modify the clay’s properties. These organic inclusions can improve the clay’s workability and add subtle textures to the final surface. By mastering the art of clay preparation, artisans ensure that each vessel starts its journey on a solid foundation.
3. Shaping the Forms: Wheel Throwing and Hand‑Building
The shaping stage is where the potter’s vision takes form. Handmade ceramics Java Indonesia can be created through two primary techniques: wheel throwing and hand-building. Each method offers distinct advantages and challenges.
Wheel Throwing
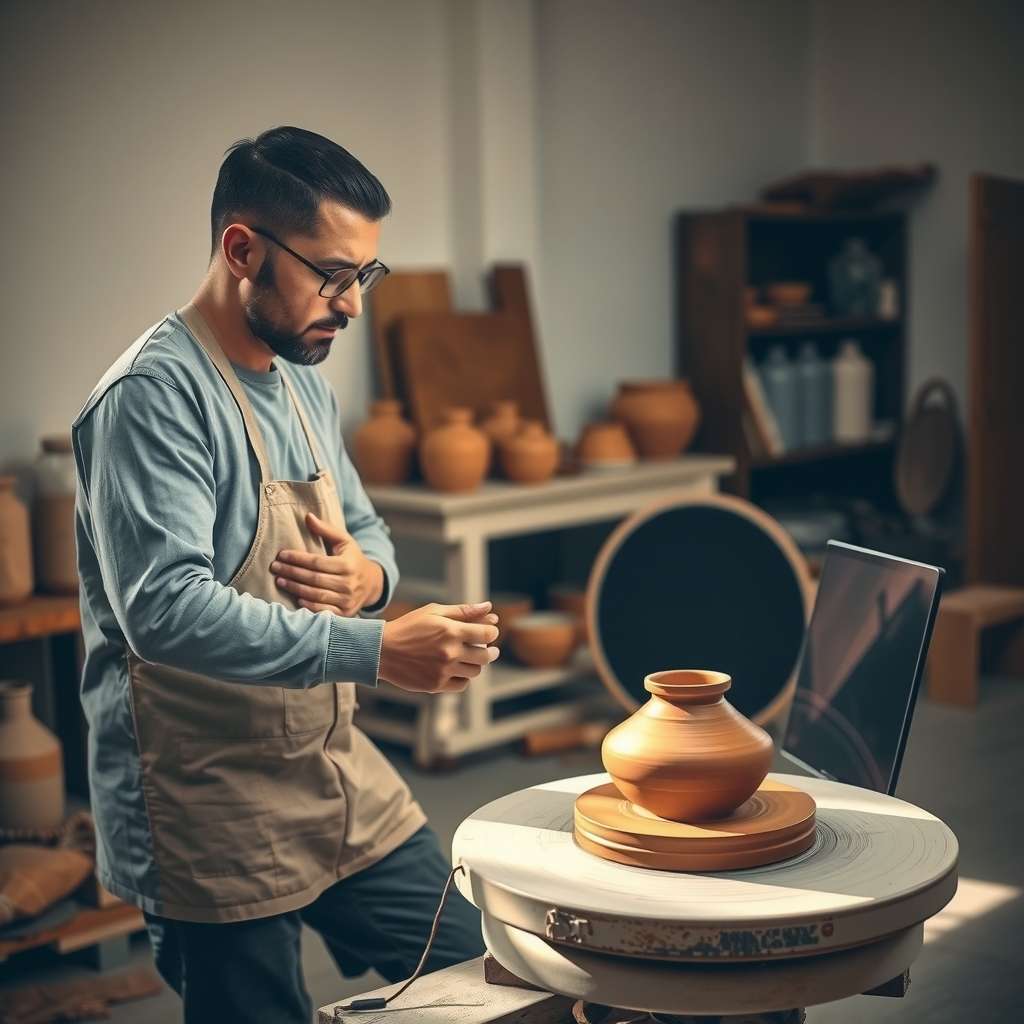
Wheel throwing remains the most iconic technique in Java. The potter places a lump of wedged clay on the center of a rotating wheel, then uses both hands to coax it into a symmetrical shape. This method allows for precise control over dimensions and is ideal for functional items like bowls and jars.
- Centering the clay: Essential for symmetry.
- Pulling and opening: Creates the vessel’s profile.
- Trimming: Removes excess clay for a smooth finish.
Hand‑Building
Hand-building, or the “coil” method, is favored for more expressive or irregular forms. The potter rolls clay into coils, then stacks and smooths them to create walls. This technique is perfect for sculptural pieces or decorative tiles that require a more organic aesthetic.
- Coiling: Building walls layer by layer.
- Slabbing: Creating flat surfaces for plates or tiles.
- Joining: Using slip as a natural adhesive.
Both techniques demand a steady hand, patience, and a deep understanding of the clay’s behavior. Mastery of these skills is what differentiates a novice from a seasoned artisan of handmade ceramics Java Indonesia.
4. The Art of Drying and Bisque Firing
After shaping, the pieces must dry slowly to prevent cracks. Traditional drying methods involve placing the vessels on bamboo racks in shaded areas, allowing the moisture to evaporate gradually over several days or weeks, depending on humidity.
- Use of bamboo racks: Provides airflow and prevents direct contact.
- Covering with cloth: Protects from dust while allowing moisture escape.
- Monitoring weight loss: Ensures the clay is properly dry before firing.
Once dry, the first firing—bisque firing—begins. This low-temperature process, typically around 900–1000°C, transforms the clay into a porous, stoneware-like material that is ready for glazing. Bisque firing is critical; it strengthens the piece and prepares it for the subsequent glaze application.
During bisque firing, potters pay close attention to the kiln’s atmosphere. A well-regulated kiln ensures even heat distribution, reducing the risk of warping or uneven coloration. The bisque-fired pieces are then inspected for cracks, imperfections, and overall structural integrity.
5. Glazing: Color, Texture, and Finish
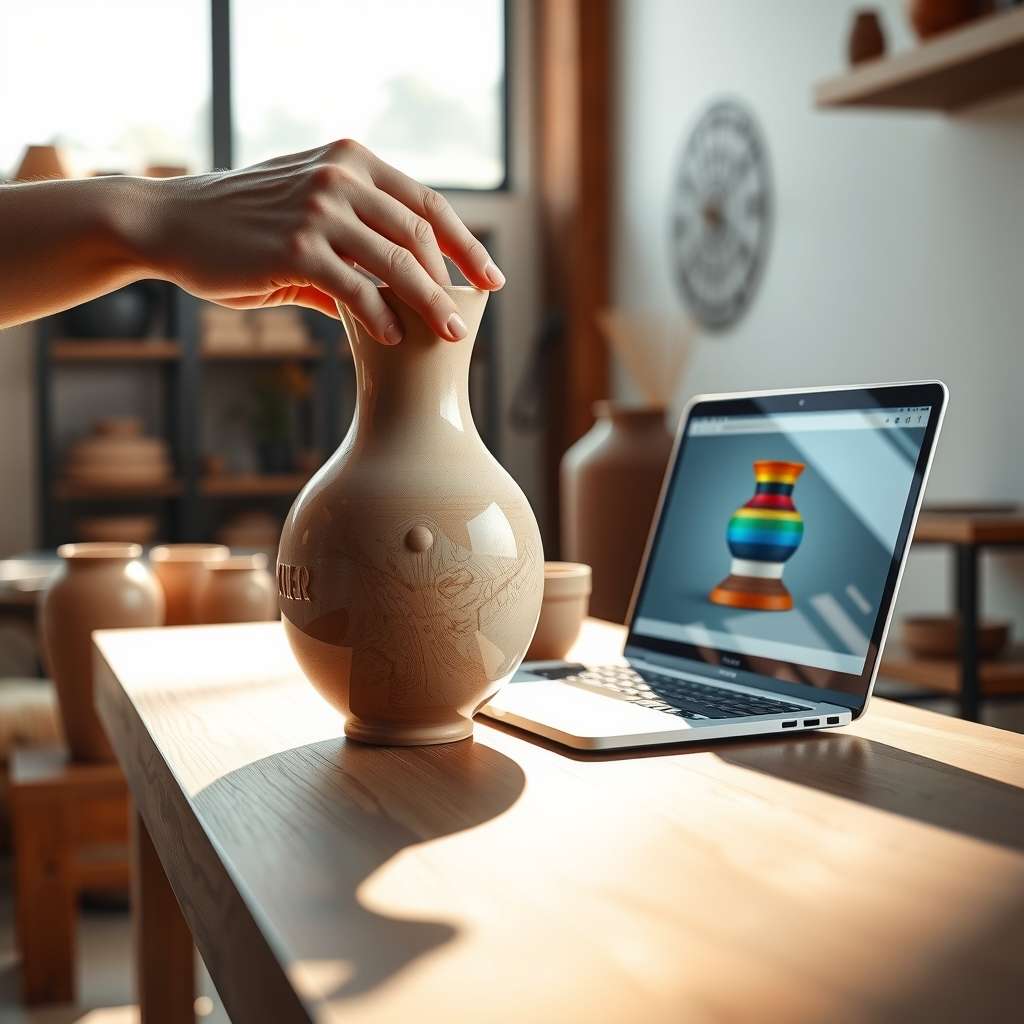
Glazing is where the aesthetic potential of handmade ceramics Java Indonesia truly shines. Glazes are applied to add color, texture, and a protective seal. Traditional Javanese glazes often use natural pigments—such as iron oxide for reds and browns, or copper for greens—mixed with local minerals.
- Slip: A liquid mixture of clay and water, used for fine detailing.
- Surface application: Brushing, dipping, or spraying glazes.
- Drying time: Allows for color development before final firing.
Potters experiment with glazing techniques to achieve unique finishes. Some prefer a matte glaze for a rustic feel, while others opt for glossy, high‑sheen finishes that highlight the piece’s contours. The choice of glaze not only enhances visual