Introduction
When you sketch a bowl, mug, or sculpture, you’re not just drawing lines—you’re dreaming a tactile reality. Turning those sketches into custom ceramics is a rewarding journey that blends creativity, technique, and patience. Whether you’re a hobbyist or a budding ceramic artist, mastering the process from concept to finished glaze unlocks endless possibilities. This guide walks you through seven essential steps, enriched with industry insights, LSI keywords, and practical tips that help you create high‑quality, market‑ready pieces.
Step 1: Concept & Sketching
Every masterpiece starts with a clear vision. Begin by sketching multiple iterations, experimenting with proportions, textures, and functional aspects. Use reference photos or real objects to refine your design. In this phase, consider the purpose—will it be a decorative vase or a functional cup? Mapping out dimensions and potential glaze colors early saves time later. Your sketch becomes the blueprint for the entire custom ceramics workflow.
Define Your Vision
Ask yourself what story your piece will tell. Is it a personal memento or a commercial product? Identifying the target audience informs material choices, finish, and pricing. Document key questions: What is the piece’s size? Does it need a handle or a spout? A well‑structured vision document keeps the project focused and reduces costly revisions.
Translate Sketch into 3D
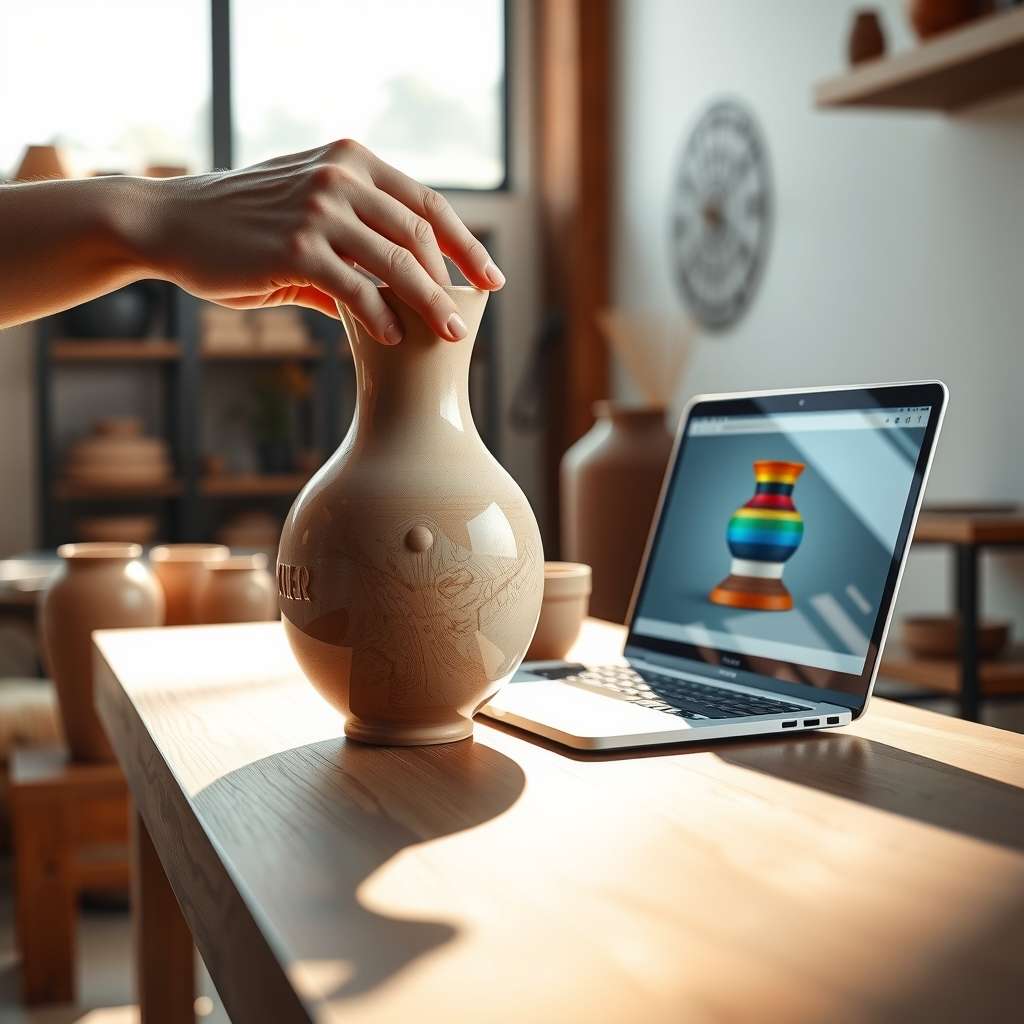
Visualize the sketch in three dimensions. Sketching in perspective or using 3D modeling software can reveal hidden flaws. If you’re comfortable with CAD, create a digital model to test proportions. Alternatively, create a clay mock‑up by building a rough shape with low‑firing clay. This tactile prototype confirms the silhouette before committing to the final piece.