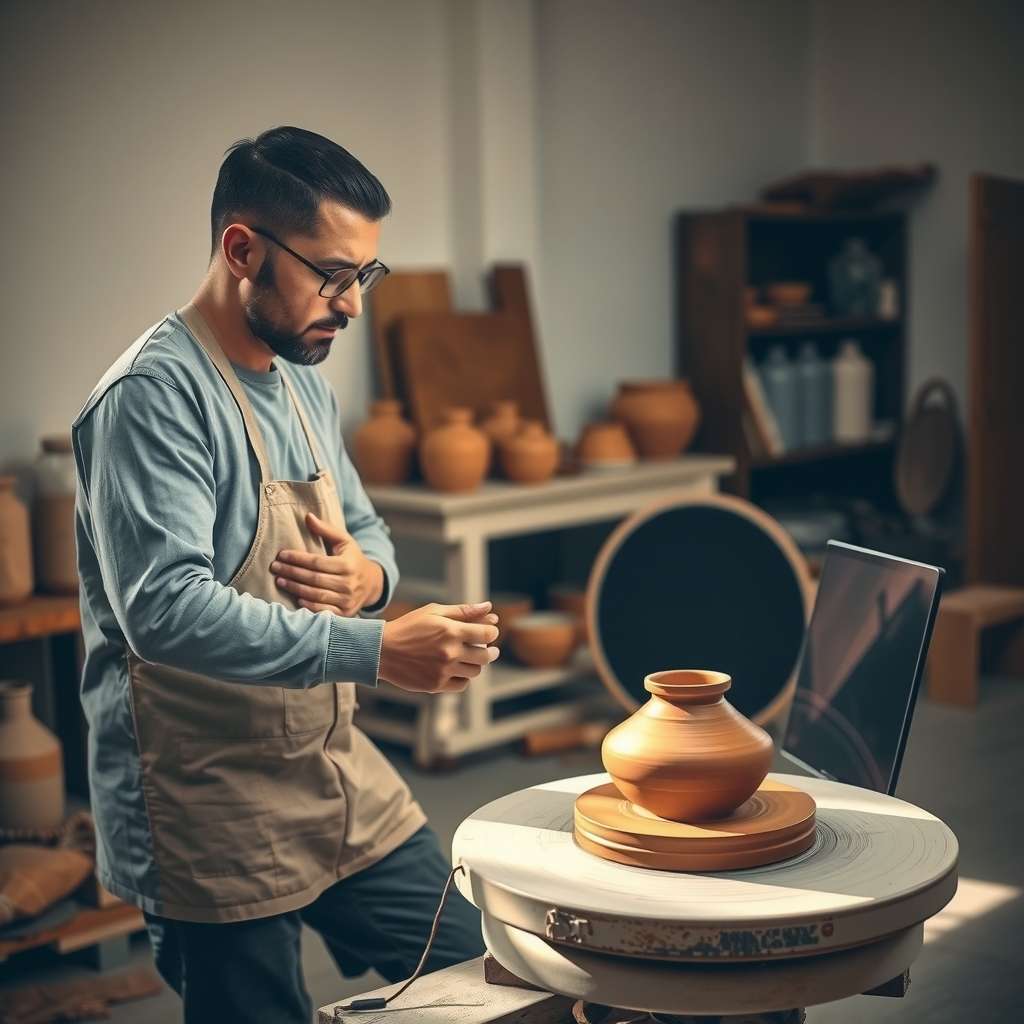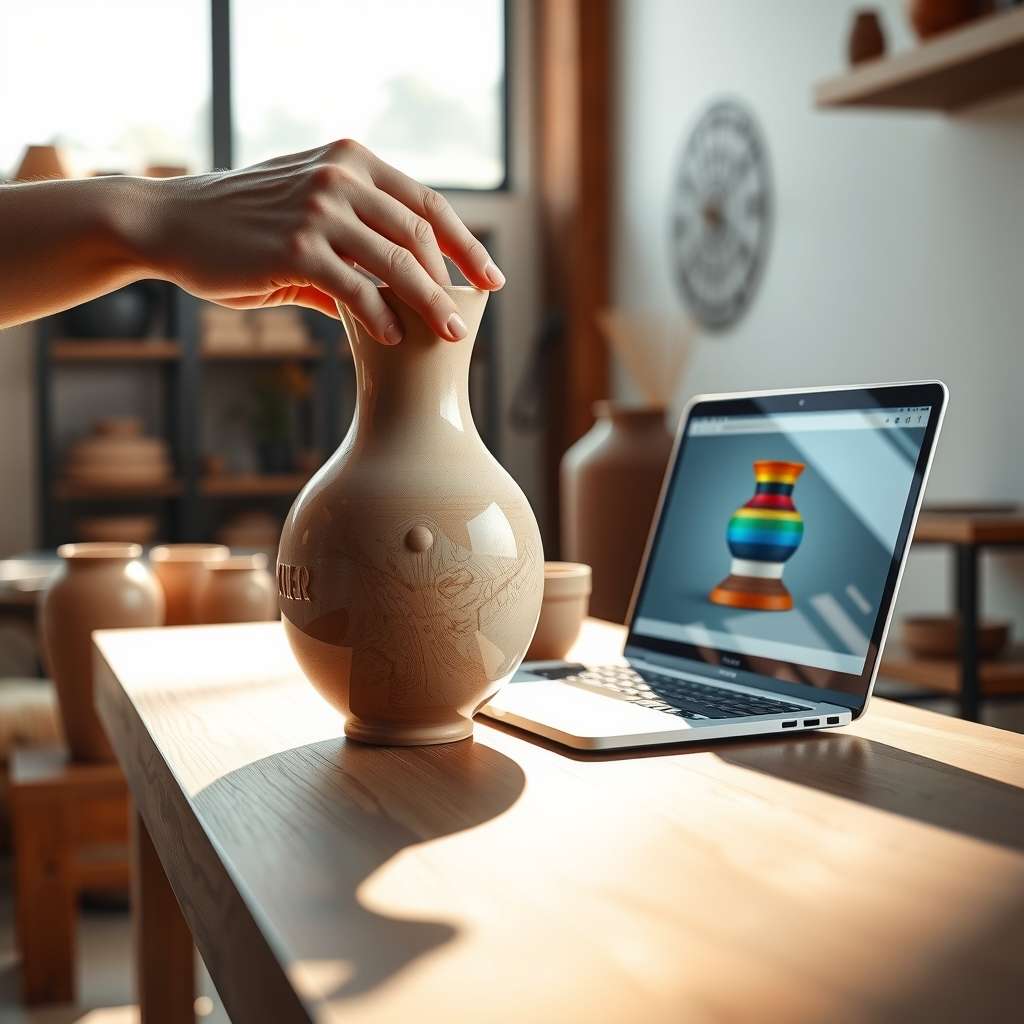
In today’s fast‑moving creative landscape, clients demand personalized, high‑quality ceramics that reflect their unique vision—yet they also expect a quick turnaround. Our custom ceramics process delivers exactly that: a seamless journey from initial sketch to polished, kiln‑fired masterpiece, all within 30 days. By combining traditional hand‑building techniques with modern digital design tools, we streamline production without sacrificing artistry. Whether you’re a boutique designer, a commercial brand, or an individual collector, our proven workflow ensures your ceramics meet the highest standards of durability, aesthetics, and functionality.
Step 1: Initial Consultation & Concept Development
Every successful ceramic piece begins with a clear understanding of the client’s goals. During the initial consultation, we gather insights about intended use, design preferences, color palettes, and functional requirements. This collaborative dialogue allows us to translate your vision into a tangible concept while ensuring feasibility within the 30‑day timeframe. By setting realistic expectations early, we avoid costly revisions later in the process.
Understanding Client Vision
We ask targeted questions—such as “What emotions should the piece evoke?” or “Will it be used indoors or outdoors?”—to capture the essence of your project. These details inform material selection, glaze choices, and firing schedules. We also review any reference images or mood boards you provide, ensuring alignment from the outset.
Sketching & Digital Rendering
Our studio’s in‑house designers translate your ideas into detailed sketches and 3D renderings. Using CAD software, we create precise models that allow us to simulate glaze behavior, predict firing outcomes, and identify potential structural issues before physical production begins. This digital step saves time, reduces waste, and guarantees a design that meets your expectations.
Step 2: Material Selection & Clay Preparation
Choosing the right clay body is crucial for both strength and aesthetic appeal. We evaluate factors such as firing temperature, shrinkage rate, and texture to select the ideal formulation—whether it’s a high‑fire porcelain, earthenware, or a specialized composite. Once selected, the clay undergoes meticulous mixing, kneading, and de‑airing to eliminate defects and ensure a uniform consistency.
Choosing the Right Clay Body
Different applications demand different clay characteristics. For fine tableware, we use refined porcelain that offers translucency and a smooth finish. For functional tiles or large sculptures, a high‑strength earthenware or a polymer‑clay blend may be more appropriate. Our experts assess each project’s load‑bearing needs, thermal expansion, and environmental exposure before finalizing the material.
Mixing, Kneading, & De‑Airing
Proper preparation reduces the risk of cracks and warping during drying and firing. We employ a multi‑stage kneading process that integrates water, temper, and additives in precise ratios. After kneading, the clay is rested for 24–48 hours to allow moisture to equilibrate, followed by a final de‑airing step that removes trapped air pockets and ensures structural integrity.
Step 3: Forming Techniques
Our studio offers both hand‑building and wheel‑throwing techniques, depending on the desired shape and scale. Hand‑building provides maximum artistic freedom for complex, sculptural forms, while wheel‑throwing delivers symmetry and speed for functional wares. Throughout, we emphasize precision, balance, and the incorporation of design elements that enhance both beauty and usability.
Handbuilding vs. Wheel Throwing
Handbuilding allows for intricate detailing, asymmetrical forms, and the integration of mixed media. Wheel throwing, on the other hand, offers consistent thickness and a polished finish, ideal for dinnerware and large, symmetrical pieces. Our artisans choose the method that best serves the concept’s aesthetic and functional goals.
Sculpting Details
After the initial form is created, we refine the surface by adding texture, carving patterns, or applying decorative motifs. These details are carefully planned to withstand the stresses of firing and handling. We also incorporate structural supports—such as ribs or cores—where necessary to maintain form integrity during the drying phase.
Step 4: Drying & Bisque Firing
Controlled drying is essential to prevent warping or cracking. We use a staged drying protocol that gradually reduces moisture content over 5–7 days, monitored with a hygrometer. Once the pieces reach a safe moisture level, they undergo bisque firing—a low‑temperature kiln cycle that hardens the clay while preserving its shape for glazing.
Controlled Drying Process
Our drying rooms maintain a consistent temperature of 20–22°C and humidity