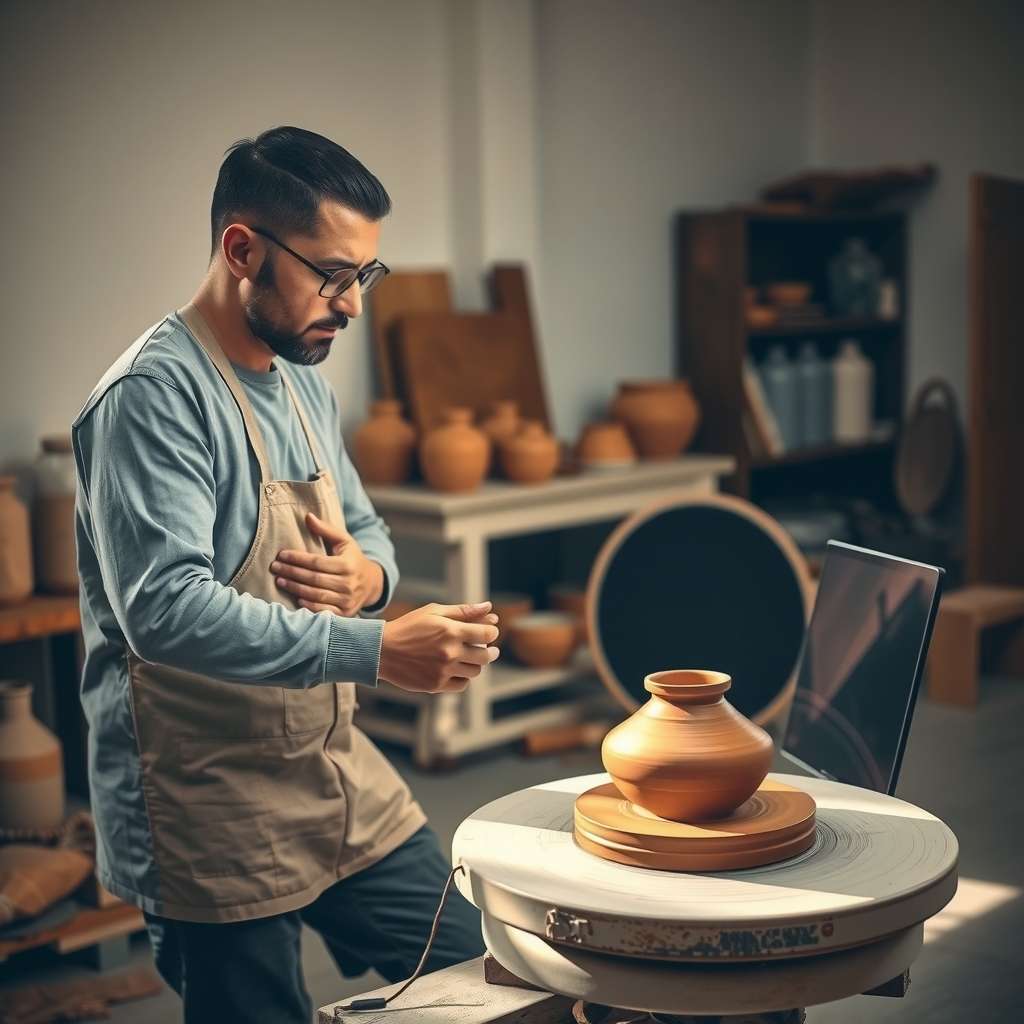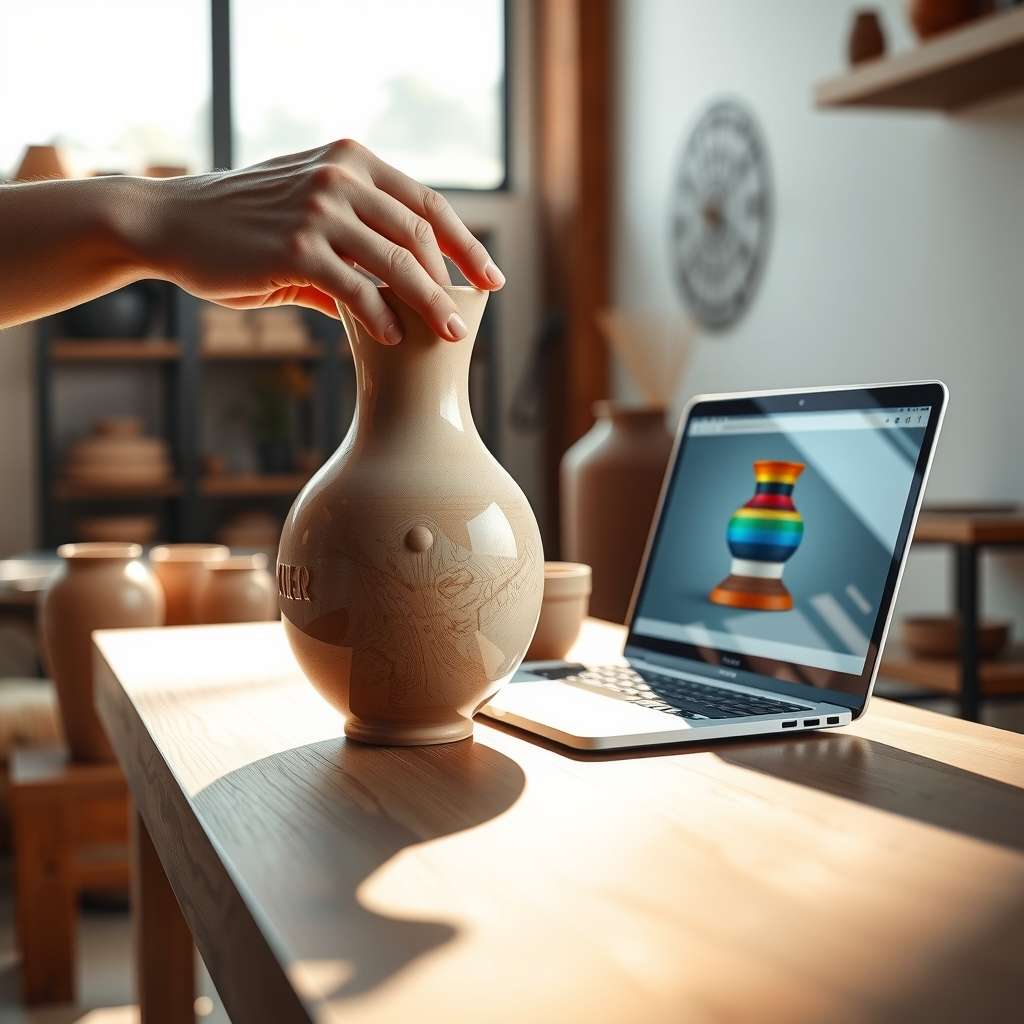
Imagine walking into a dining room where every plate, bowl, and cup reflects your personal style, your favorite colors, and the stories you cherish. That vision becomes reality when you dive into the art of creating custom ceramic dinnerware. In this comprehensive guide, we’ll walk you through seven essential steps— from selecting the right clay to mastering glazing techniques—so you can craft a dinner set that feels truly yours. Whether you’re a seasoned potter or a curious beginner, this article will give you the knowledge, confidence, and inspiration to bring your custom ceramic dinnerware dreams to life.
Step 1: Choosing the Right Clay for Your Custom Ceramic Dinnerware
The foundation of any stunning custom ceramic dinnerware set lies in the choice of clay. Not all clays are created equal; each has unique properties that influence the final look, feel, and durability of your pieces. When selecting clay, consider factors such as plasticity, shrinkage, firing temperature, and color. For a versatile, beginner-friendly option, stoneware clay is ideal— it offers excellent strength, a neutral color that accepts glazes beautifully, and a forgiving workability. If you prefer a more traditional, earthy aesthetic, consider earthenware clay, which gives a rustic, porous finish. For a modern, translucent look, porcelain clay is your go-to choice, though it requires careful handling due to its fragility.
Key Attributes to Evaluate
- Plasticity: How easily the clay can be shaped without cracking.
- Shrinkage: The amount the clay will reduce during drying and firing.
- Firing Temperature: Determines the strength and final color of the ceramic.
- Color: Base color affects how glazes will appear.
Step 2: Preparing Your Clay – Mixing, Kneading, and De-Airing
Once you’ve selected the perfect clay body, the next phase is preparation. Properly mixing and kneading your clay removes air pockets and ensures uniform consistency—critical for preventing cracks during drying or firing. Start by adding the clay to a large mixing bowl and gradually incorporate water, just enough to achieve a smooth, pliable texture. Knead the mixture for at least 10 minutes, working it into a cohesive mass. After kneading, allow the clay to rest for 30 minutes; this rest period lets the moisture redistribute and reduces the risk of uneven shrinkage.
De-Airing Techniques
- Hand De-Airing: Gently press the clay with your palms to expel trapped air.
- Vibration: Place the clay on a vibrating table or tap the surface lightly.
- Rolling: Roll the clay into a log and cut sections to release internal air.
Step 3: Designing Your Custom Ceramic Dinnerware – From Sketch to Shape
Before you roll or press, sketch your vision. A clear design plan helps streamline the building process and ensures consistency across the set. Think about the dimensions, rim style, base shape, and any decorative motifs. For a cohesive look, decide whether each piece will share a common glaze or if you’ll experiment with varied color palettes. Once your sketches are ready, transfer the measurements onto a scale ruler to maintain proportion throughout.
Tools for Precision Design
- Scale ruler or measuring tape
- Clay modeling tools (spatulas, ribs, loop tools)
- Pattern templates for bowls, plates, and cups
- Digital sketching apps for quick revisions
Step 4: Shaping Your Pieces – Handbuilding vs. Wheel Throwing
Custom ceramic dinnerware can be created using handbuilding techniques or by throwing on a potter’s wheel. Handbuilding offers freedom to sculpt intricate details and irregular forms, ideal for unique, artisanal pieces. Techniques like slab construction, coiling, and pinch pots allow you to experiment with textures and patterns. On the other hand, wheel throwing provides symmetry and a polished finish, perfect for classic plates and bowls. If you’re new to pottery, start with handbuilding to master the basics before moving to the wheel.
Handbuilding Methods
- Slab Construction: Cutting and joining flat pieces of clay.
- Coiling: Rolling clay into ropes and layering them.
- Pinch Pots: Forming small bowls or cups by pinching clay with fingers.
Step 5: Drying and Bisque Firing – Preparing for Glaze
After shaping, allow your custom ceramic dinnerware to dry slowly and evenly. Place the pieces in a shaded, well-ventilated area and rotate them every few hours to prevent uneven drying. Once the clay is leather-hard, use a gentle touch to avoid cracks. Bisque firing is the first kiln firing, which hardens the clay and prepares it for glaze application. Typically, bisque firing temperatures range from 1,800°F to 1,900°F (982°C to 1038°C) for stoneware. Ensure your kiln reaches the recommended temperature gradually to avoid thermal shock.
Bisque Firing Tips
- Use a kiln with a controlled ramp rate (1–2°C per minute).
- Place a ceramic plate or tile beneath each piece to absorb excess heat.
- Check for cracks after firing and re-fire if necessary.
Step 6: Glazing – The Color and Finish of Your Custom Ceramic Dinnerware
Glazing is where your dinnerware truly shines. Choose a glaze that complements your clay body and design concept. For a classic look, opt for a clear glaze to showcase the clay’s natural color. If you’re aiming for vibrant, eye-catching plates, experiment with metallic glazes, iridescents, or matte finishes. Remember, the glaze’s firing temperature should match the clay body’s firing schedule to avoid crazing or blistering.
Glaze Application Techniques
- Spray Glaze: Even coverage for large surfaces.
- Brush Glaze: Ideal for detailed patterns.
- Slip Casting: Creates subtle color variations.