Imagine holding a piece of pottery that began as a simple line on a napkin, now transformed into a functional work of art that reflects your personal style. That magic is the promise of custom ceramics. Whether you are an interior designer, a brand looking for unique promotional items, or an individual craving a one‑of‑a‑kind mug, the journey from sketch to finished ceramic can be both exhilarating and intimidating. This guide walks you through seven essential steps, demystifying the ceramic design process and giving you the confidence to bring any idea to life.
Understanding Custom Ceramics
Before you dive into the technicalities, it helps to grasp what custom ceramics really means. Unlike mass‑produced pottery, custom ceramics are handcrafted or digitally fabricated pieces that are tailored to a specific design, function, or brand identity. They combine artistic expression with functional engineering, resulting in objects that are as practical as they are beautiful.
What Are Custom Ceramics?
Custom ceramics encompass a broad spectrum of items—from hand‑painted dinner plates and sculptural vases to industrial‑grade tiles and limited‑edition art pieces. The defining factor is the bespoke nature of the design: the creator works directly from a client’s sketch, concept board, or digital model to produce a unique final product.
Benefits of Bespoke Ceramic Pieces
- Unique Identity: Stand out with a piece that no one else owns.
- Functional Art: Combine aesthetics with everyday utility.
- Brand Storytelling: Use ceramics as tactile brand ambassadors.
- Emotional Value: Gifts and heirlooms that carry personal meaning.
Step 1: Preparing Your Sketch for Production
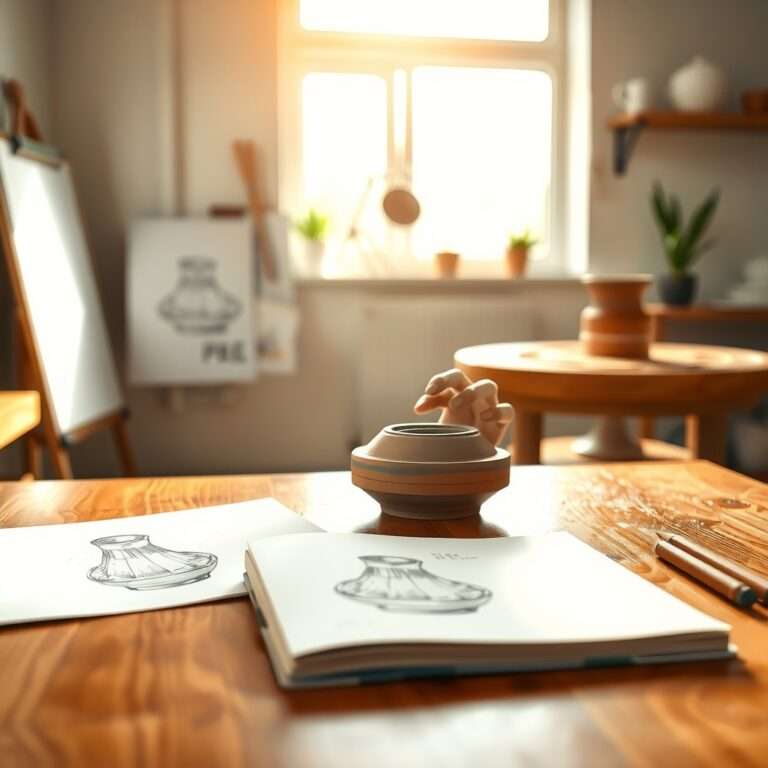
The first step is turning a flat drawing into a clear, production‑ready brief. A well‑prepared sketch saves time, reduces costs, and minimizes miscommunication with the ceramic studio.
- Define Purpose: Is the piece decorative, functional, or both?
- Scale Accurately: Include dimensions in millimeters or inches.
- Detail Surface Treatment: Indicate where glaze, texture, or carving will occur.
- Choose Perspective: Provide front, side, and top views if the shape is complex.
- Material Notes: If you have a preference for stoneware, porcelain, or earthenware, note it.
Step 2: Choosing the Right Clay and Materials
The choice of clay body influences the final look, durability, and firing temperature of your piece. Below is a quick comparison of the most common clay types used in custom ceramics.
| Clay Type | Firing Range (°C) | Texture | Typical Uses |
|---|---|---|---|
| Porcelain | 1200–1300 | Very smooth, white | Fine dinnerware, delicate sculpture |
| Stoneware | 1150–1250 | Dense, slightly porous | Everyday plates, mugs, functional art |
| Earthenware | 1000–1150 | Coarse, reddish | Rustic pottery, decorative tiles |
| Raku Clay | 800–900 (low‑fire) | Light, porous | Experimental art, quick‑fire pieces |
Consult with your chosen studio to determine which clay body best aligns with your design intent and functional requirements.
Step 3: Translating Sketch to 3D Model (Digital Workflow)
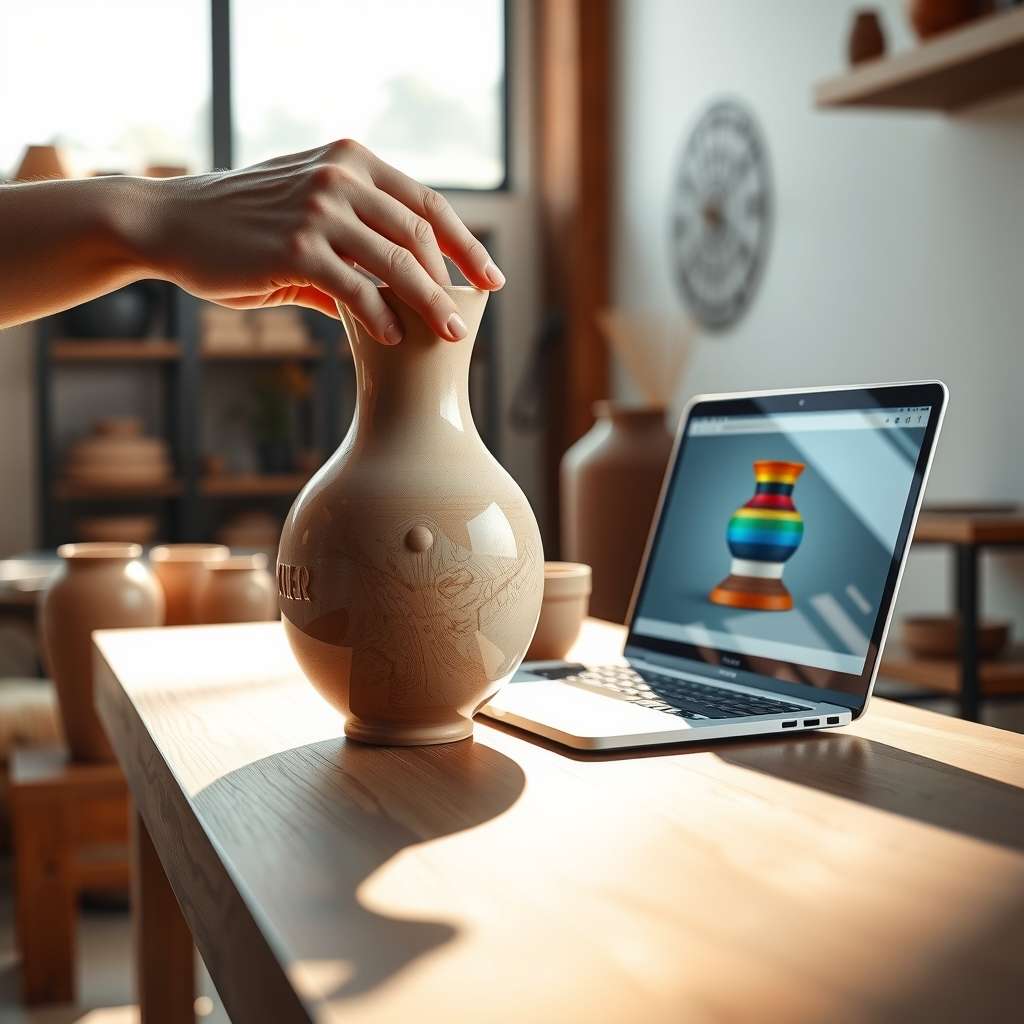
Many modern ceramic studios use digital tools to refine sketches before the physical build. This step is optional but can dramatically improve accuracy.
- 3D Scanning: If you already have a prototype, a scanner captures exact dimensions.
- CAD Software: Programs like Rhino, Fusion 360, or Blender let you model the piece, test wall thickness, and simulate glaze flow.
- Rapid Prototyping: 3‑D printed wax or resin models can serve as patterns for slip casting.
Digital models also make it easier to share revisions with the studio, ensuring the final product matches your vision.
Step 4: Hand‑Building vs. Mold‑Making Techniques
Depending on the complexity and quantity of your order, you’ll choose between hand‑building methods (coil, slab, pinch) or mold‑based processes (slip casting, press molding).
Hand‑Building Advantages
- Highly artistic, allowing for organic textures.
- Ideal for low‑volume, unique pieces.
- Greater control over wall thickness and surface details.
Mold‑Making Advantages
- Consistent replication for larger runs.
- Reduced labor time per piece.
- Excellent for intricate shapes that are difficult to hand‑form.
Many studios blend both approaches—hand‑carving details onto a cast base—to achieve the perfect balance of precision and artistry.
Step 5: Firing Process and Glaze Selection
The kiln firing stage is where the raw clay transforms into a durable, vitrified object. Choosing the right glaze is equally crucial, as it determines color, texture, and functional properties such as food safety.
Key Firing Stages
- Bisque Fire: First low‑temperature firing (≈900°C) that hardens the piece while leaving it porous enough to absorb glaze.
- Glaze Fire: Second firing at a temperature matched to the glaze and clay body (often 1150–1300°C).
- Raku or Specialty Fires: Optional third fire for unique surface effects.
Glaze Types Comparison
| Glaze Type | Finish | Typical Temperature | Best For |
|---|---|---|---|
| Gloss | Shiny, smooth | 1150–1300°C | Tableware, decorative pieces |
| Matte | Soft, non‑reflective | 1150–1300°C | Modern aesthetics, tactile surfaces |
| Underglaze | Color applied before glaze | 1150–1300°C (with clear glaze) | Detailed painting, intricate patterns |
| Raku | Varied, often crackled | 800–900°C (quick fire) | Artistic experiments, rapid prototypes |
Always verify that the glaze you select is food‑safe if the final piece will hold food or drink.
Step 6: Quality Control and Finishing Touches
After the final fire, each piece undergoes a thorough inspection to ensure it meets the agreed‑upon standards.
- Dimensional Accuracy: Measure against the original sketch.
- Surface Inspection: Look for glaze defects, cracks, or warping.
- Functional Tests: For mugs or bowls, test for leaks and stability.
- Polishing & Buffing: Optional step for a smoother hand‑feel.
Any necessary touch‑ups—such as hand‑painting accents or applying a final clear coat—are performed before the piece is packaged for delivery.
Step 7: Working with a Professional Ceramic Studio
Partnering with an experienced studio can make the difference between a satisfactory result and a masterpiece. Here’s what to look for when selecting a collaborator.
- Portfolio Review: Examine previous custom ceramics projects for style alignment.
- Technical Capability: Confirm they have the equipment (kilns, 3‑D printers, CNC routers) needed for your design.
- Communication Process: Clear milestones, regular updates, and a single point of contact reduce confusion.
- Certification: Look for food‑safety certifications if your piece will be used for dining.
- Turn‑around Time: Discuss realistic timelines based on complexity and firing schedules.
Pricing and Timeline Expectations
Understanding costs upfront helps you budget effectively. Below is a simplified breakdown of typical expenses involved in creating custom ceramics from sketch to shelf.
| Cost Component | Typical Range (USD) | Factors Influencing Price |
|---|---|---|
| Design Consultation | $50–$200 | Complexity, number of revisions |
| Prototype Development | $150–$500 | Hand‑building vs. mold, material choice |
| Material Costs | $30–$150 per piece | Clay body, glaze, special additives |
| Firing Charges | $20–$80 per piece | Number of firings, kiln size |
| Finishing & Packaging | $10–$40 per piece | Polish, hand‑painting, custom boxes |
Overall lead times range from 4 to 12 weeks, depending on design intricacy, studio workload, and firing schedules. Always build a buffer for unexpected revisions.
Conclusion: Bring Your Vision to Life with Custom Ceramics
Turning a sketch into a tangible ceramic masterpiece is a rewarding journey that blends creativity, engineering, and craftsmanship. By following the seven steps outlined above—preparing a clear design brief, selecting the right clay, leveraging digital tools, choosing the appropriate building method, mastering glaze and firing, ensuring rigorous quality control, and partnering with a skilled studio—you’ll achieve stunning custom ceramics that exceed expectations.
Ready to see your drawings become functional art? Contact a reputable ceramic studio today, share your sketches, and start the transformation. Your unique piece awaits, and the world is ready to admire the story you’ve crafted in clay.
Take the first step now: Email us with your sketch and let’s create something unforgettable together.