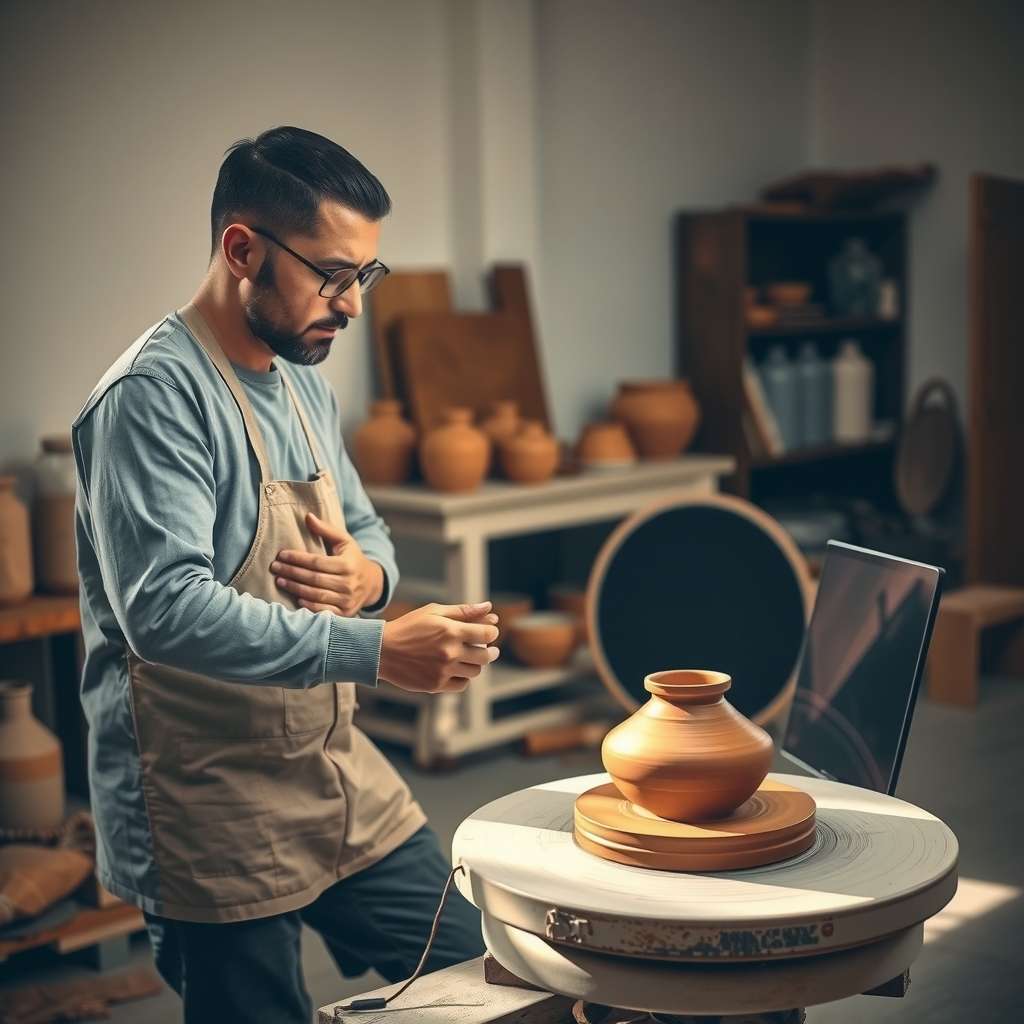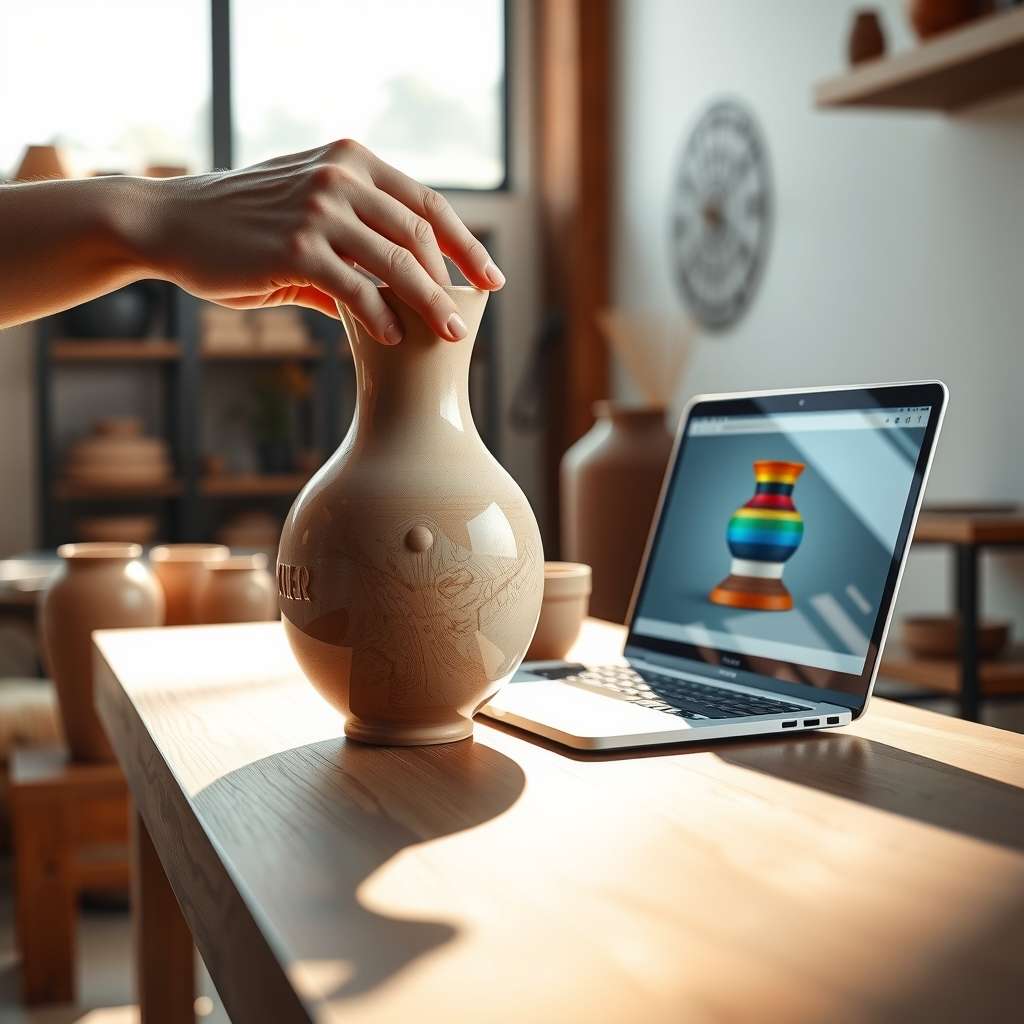
In a world saturated with mass‑produced goods, the allure of custom handmade ceramics lies in their individuality and artisanal touch. Whether you’re a seasoned potter or a budding entrepreneur, mastering the craft of bespoke ceramic products can set your brand apart. This guide walks you through five essential steps—concept development, material selection, forming techniques, glazing & firing, and branding & market launch—so you can create pieces that resonate with authenticity and quality.
1. Concept Development: Turning Ideas into Design
Before a single wheel spin, you must crystallize the vision behind your custom handmade ceramics. This stage involves brainstorming, sketching, and researching market trends to ensure your designs meet consumer desires while reflecting your brand’s ethos.
- Identify Your Niche: Are you crafting functional mugs, decorative vases, or niche kitchenware? Knowing your target segment informs every design decision.
- Sketch and Prototype: Translate ideas into rough sketches, then create clay mock‑ups to test proportions and ergonomics.
- Market Research: Analyze competitors and consumer preferences. Look at design blogs, social media, and trade shows to spot gaps your products can fill.
- Define Brand Story: Weave a narrative that connects your ceramics to a larger lifestyle or cultural theme—this will later guide branding.
By anchoring your creative process in clear objectives, you set a strong foundation for the technical steps that follow.
2. Material Selection: Choosing Clay, Glaze, and Tools
The quality of your final product hinges on the materials you select. A well‑chosen clay body, compatible glazes, and reliable tools can elevate the durability and aesthetic of your custom handmade ceramics.
- Clay Bodies: High‑fire stoneware offers durability; low‑fire earthenware gives a rustic feel. Consider slip, porcelain, or recycled clay for unique textures.
- Glaze Compatibility: Ensure glazes are formulated for your chosen clay body’s firing temperature to avoid crazing or peeling.
- Tools: Invest in a quality wheel, sculpting tools, trimming knives, and a reliable kiln. A digital kiln controller provides precise temperature profiles.
- Sourcing: Seek sustainable suppliers or local clay producers to reduce carbon footprint and support community economies.
Balancing aesthetics with functional properties ensures your ceramics not only look stunning but also perform reliably in everyday use.
3. Forming Techniques: Hand‑Building, Wheel Throwing, and Beyond
Once materials are set, the actual shaping process begins. Mastery of various forming techniques allows you to bring your concept to life with precision and creativity.
- Wheel Throwing: Ideal for symmetrical shapes like mugs and bowls. Practice centering, opening, and shaping to achieve clean lines.
- Hand‑Building: Coil, slab, and pinch techniques offer flexibility for irregular or sculptural forms.
- Hybrid Approaches: Combine wheel and hand‑building to create hybrid pieces—e.g., a wheel‑thrown base with hand‑built accents.
- Texturing: Use tools, stamps, or natural materials (leaves, shells) to add surface patterns that enhance tactile appeal.
Each technique demands a different skill set, so continuous practice and experimentation are essential to refine your craftsmanship.
Forming Technique Comparison
| Technique | Best For | Skill Level | Time Investment |
|---|---|---|---|
| Wheel Throwing | Symmetrical vessels | Intermediate | High |
| Hand‑Building (Coil) | Large, irregular shapes | Beginner | Medium |
| Hand‑Building (Slab) | Flat surfaces, panels | Beginner | Medium |
| Hybrid | Complex forms | Advanced | Very High |
4. Glazing & Firing: Adding Color, Texture, and Finish
Glazing transforms raw clay into a finished product, adding color, sheen, and protective layers. Mastering glaze chemistry and firing schedules is pivotal for custom handmade ceramics that look professional and last long.
- Glaze Application: Brush, dip, or spray glazes depending on the desired effect. Layering techniques can create depth and gradient colors.
- Firing Schedules: Low‑fire for earthenware; high‑fire for stoneware and porcelain. Use a kiln with programmable ramps to avoid thermal shock.
- Glaze Testing: Always test glazes on small tiles before applying to finished pieces. Record results to refine future batches.
- Surface Finishing: After firing, use sanding, polishing, or hand‑painting to correct imperfections or add fine details.
Consistent glazing and firing protocols ensure each piece meets the same high standard, fostering customer trust and repeat business.
5. Branding & Market Launch: Positioning Your Ceramics in the Marketplace
Crafting exceptional ceramics is only half the battle; the other half is presenting them compellingly to your audience. A cohesive brand identity and strategic launch plan amplify the impact of your custom handmade ceramics.
- Visual Identity: Design a logo, color palette, and packaging that reflect your brand’s personality and resonate with your target market.
- Storytelling: Share the journey of each piece—materials sourced, techniques used, and the inspiration behind the design.
- Digital Presence: Build a professional website with high‑quality images, SEO‑optimized product descriptions, and a blog featuring behind‑the‑scenes content.
- Sales Channels: Sell through online marketplaces, pop‑up shops, local galleries, and collaborations with lifestyle